Hoteliera Tutorial: How to Set Up Automated Check-In Messages (And Save Yourself Hours)

Perfect for: Hosts looking to save time through automation. The most important part of a guest’s stay is the communication. Are the check-in instructions clear? Do they have the Wi-Fi password? If you fail here, the whole stay starts on a bad note.
Automated messaging is your virtual assistant, ensuring every message is sent perfectly on time.
The 3 Essential Automated Messages
You need to automate at least these three messages:
- The Welcome/Thank You (Immediately After Booking): A simple, friendly message confirming the booking and setting expectations.
- The Check-in Instructions (24 Hours Before Arrival): Contains the door code, key instructions, and the final property address. Timing is key here—not too early, not too late.
- The Check-out Reminder (12 Hours Before Departure): Gently reminds them of the check-out time and procedure (where to leave the keys, trash, etc.).
Setting Up in Hoteliera (The Simple Way)
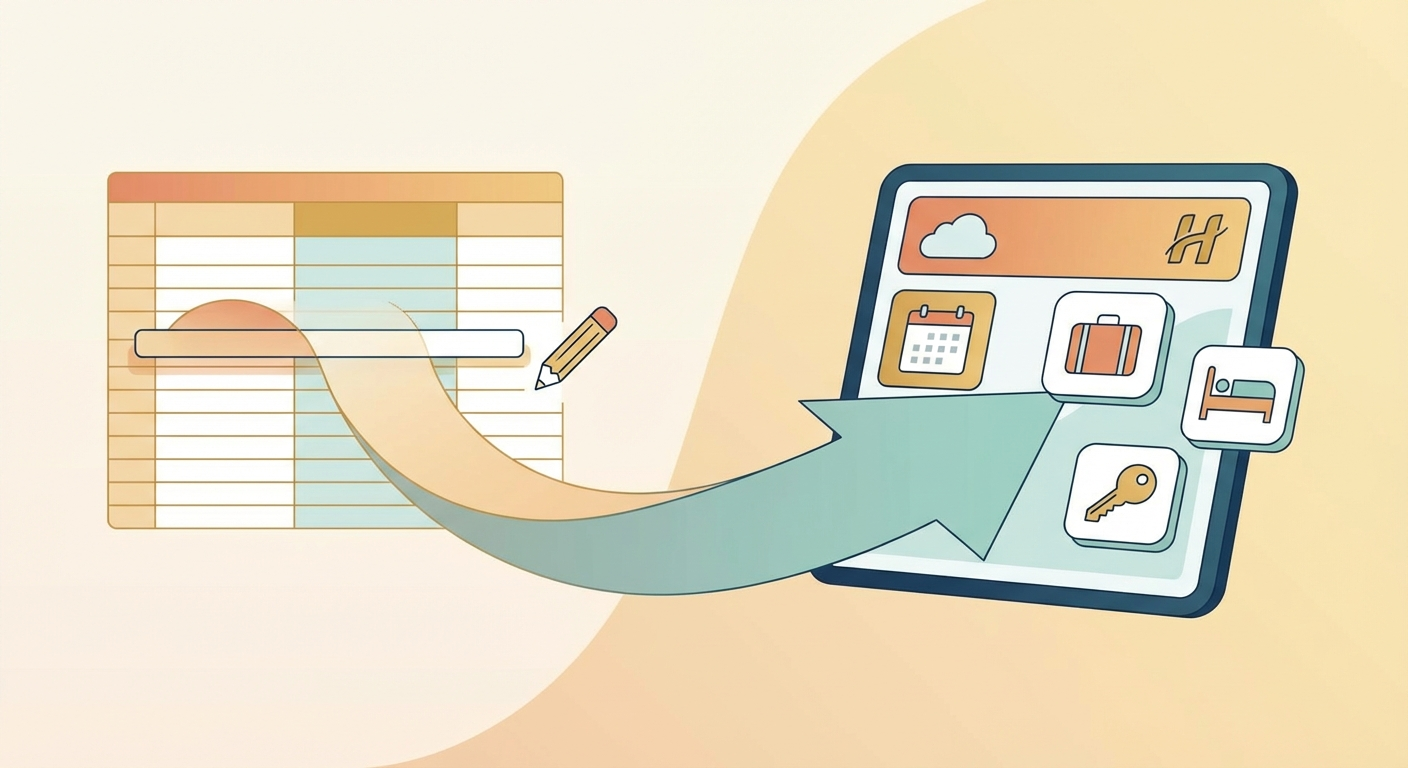
- Create the Template: Go to the Messaging section and create your text (including emojis!).
- Use Dynamic Tags: Instead of typing the guest’s name, you use a tag like
{{ guest_name }}. Hoteliera fills in the detail automatically. - Set the Trigger: For the Check-in message, you set the trigger to “Send 24 hours BEFORE check-in.”
That’s it. You write it once, and the system sends it perfectly for every future guest.
[Stop typing the same messages. Automate your check-in communication with Hoteliera’s free core PMS today!]